
The Perfect Coffee Pour-Over: A Step-by-Step Guide
For coffee enthusiasts, there's something magical about the aroma and flavor of a perfectly brewed pour-over coffee. With its simple yet meticulous process, the pour-over method allows you to extract the full potential of your coffee beans. In this comprehensive guide, we will walk you through the steps to achieve the perfect coffee pour-over, ensuring a rich and satisfying cup every time!
Choose the Right Beans: Selecting high-quality, freshly roasted beans is paramount to achieving an exceptional pour-over experience. Opt for beans that suit your personal taste preferences, whether it's a light, medium or dark roast. Consider exploring single-origin beans for unique flavor profiles. It's always recommended to purchase whole beans and grind them just before brewing to preserve freshness.
Gather the Essential Tools: To embark on your pour-over journey, gather the necessary tools:
Paper filters specifically designed for your pour-over device
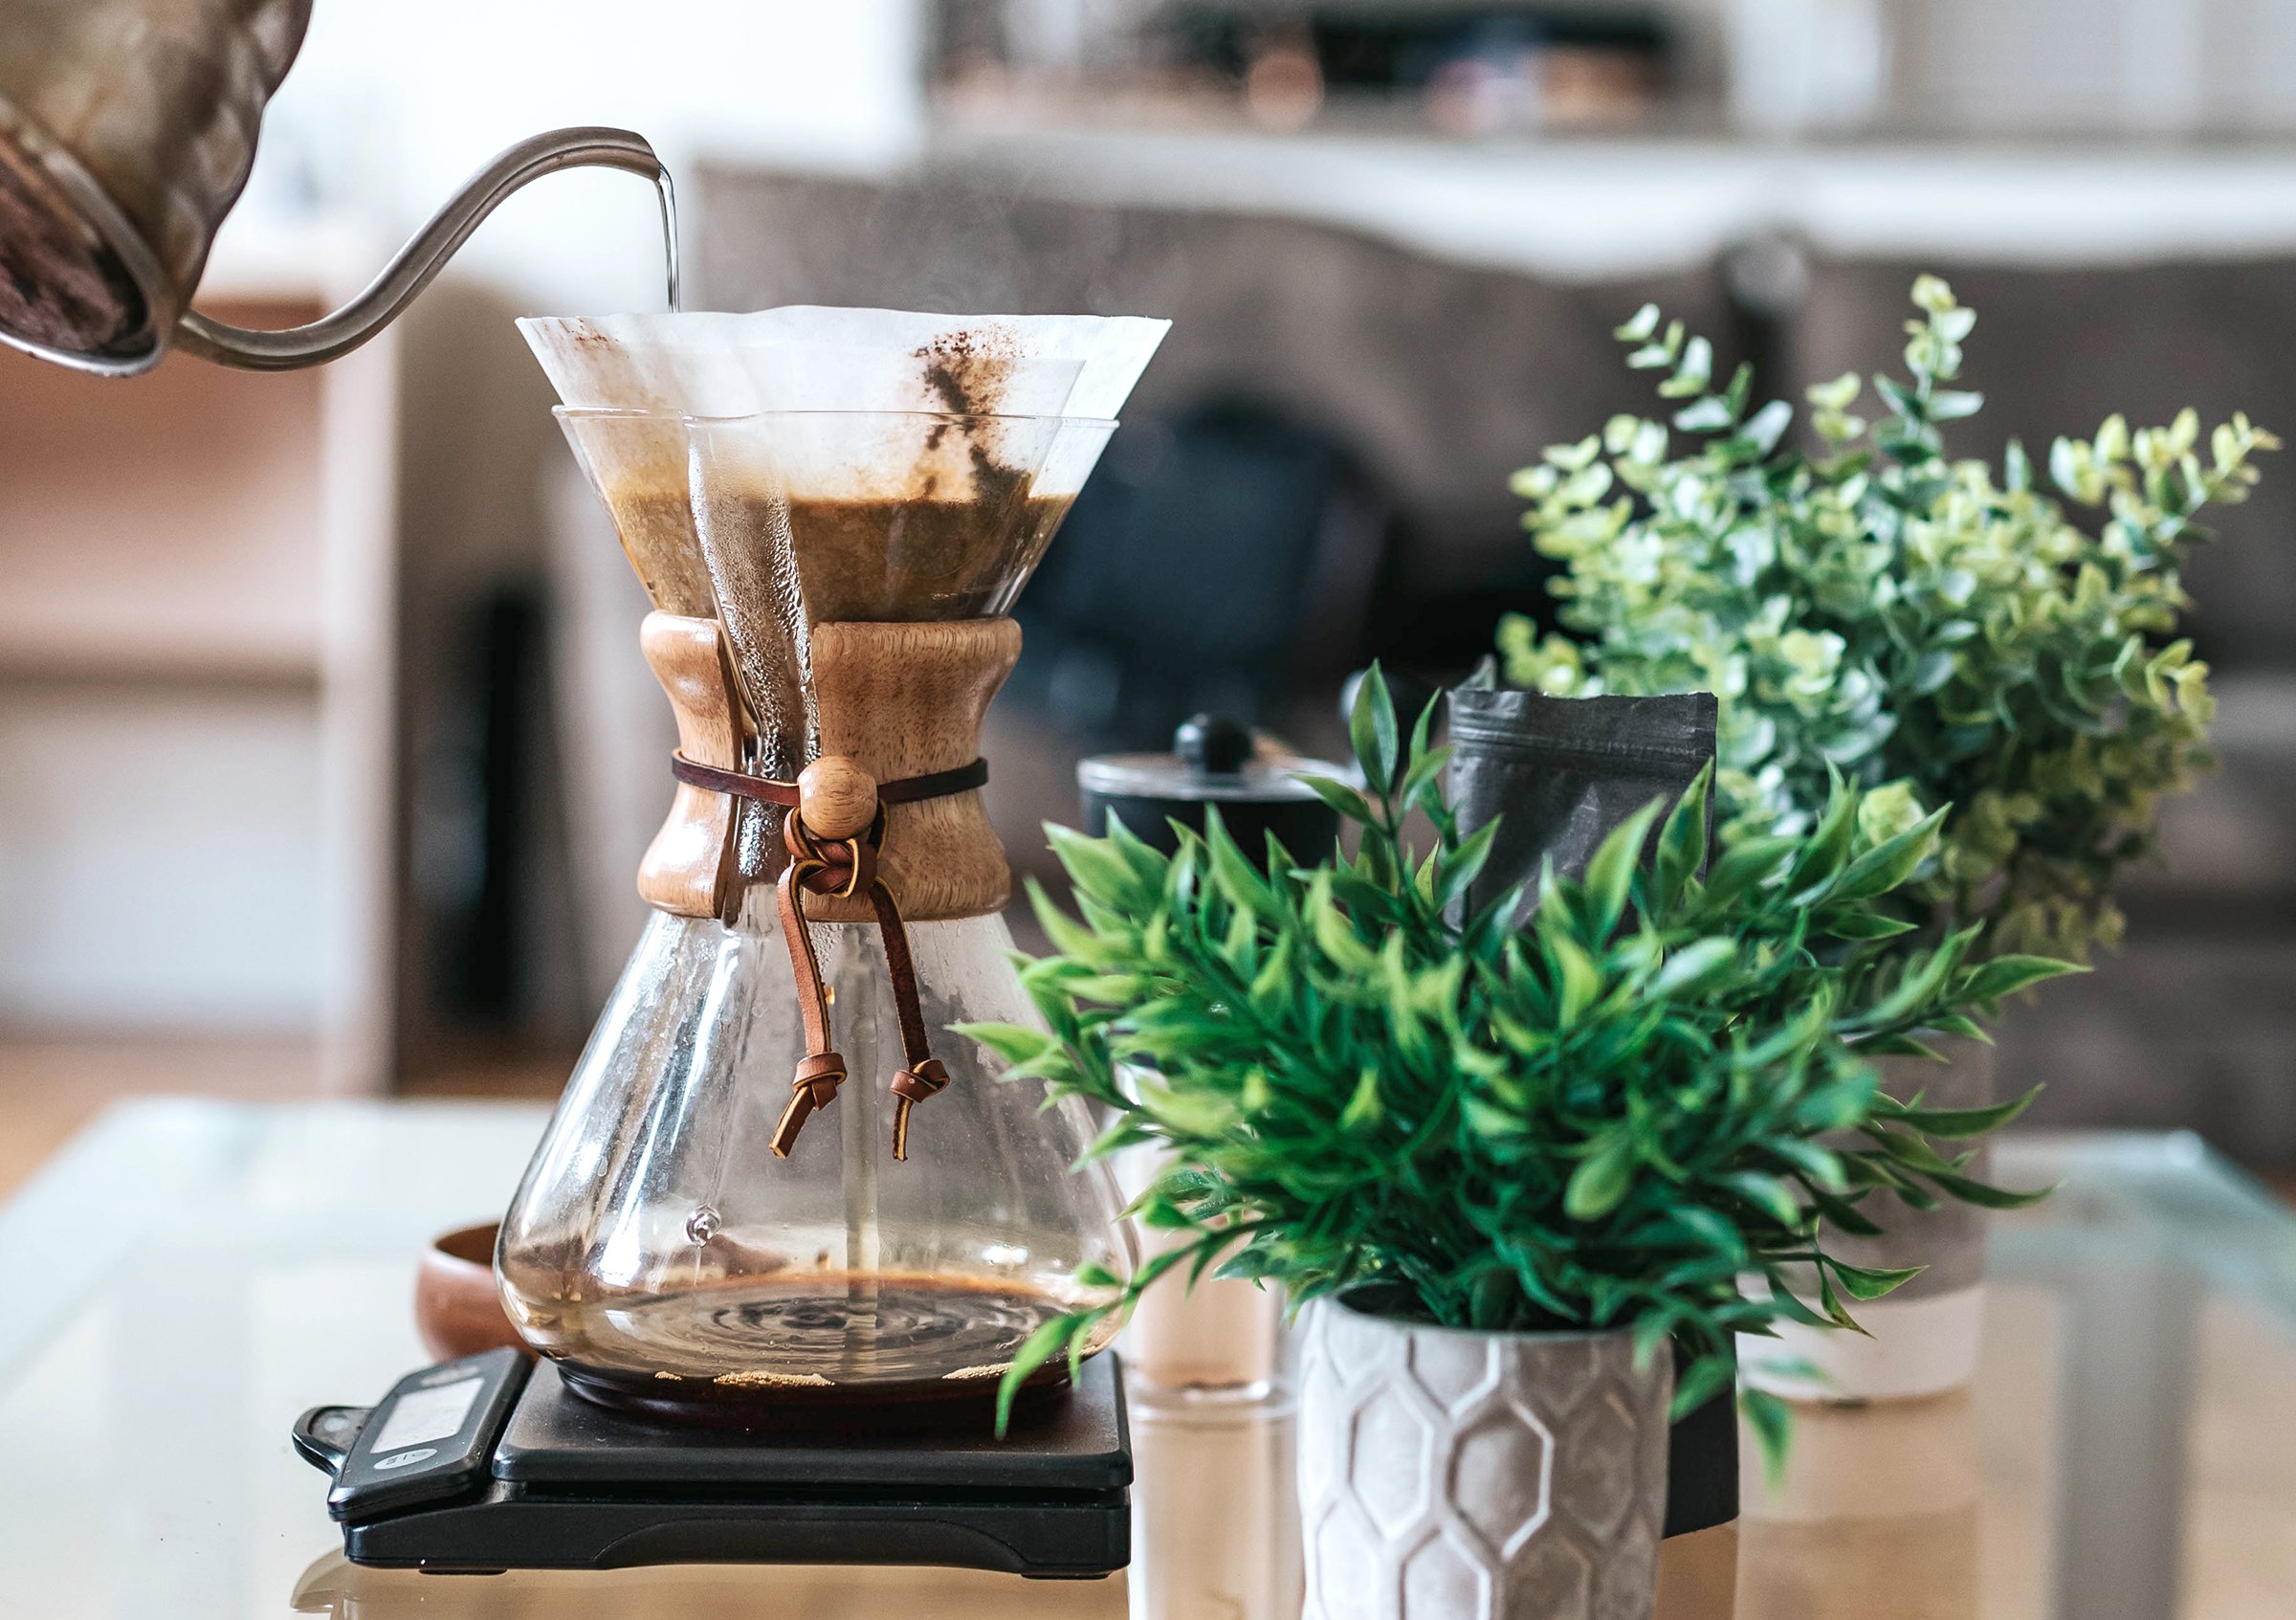
A gooseneck kettle for precise pouring (regular kettles will work, but can be hard to control water flow)
Coffee scale to measure coffee and water accurately (not required, but handy)
Burr grinder for consistent particle size (avoid blade grinders if possible as they can heat the beans)
Timer
Mug or server to hold the brewed coffee
Grind the Coffee: Grinding coffee beans just before brewing ensures optimal freshness. For pour-over, a medium-fine grind size is generally recommended. Experiment with grind settings until you achieve a consistent grind size, similar to table salt. Remember, grind size affects extraction, so finding the right setting is crucial.
Pre-wet the Filter: Place the paper filter in your pour-over device and rinse it with hot water. This step eliminates any paper residue and preheats the brewing vessel, ensuring a clean and even extraction. Discard the rinse water from the vessel before proceeding.
Measure and Add Coffee: Using your coffee scale, measure the desired amount of coffee based on your taste preference and the brewing ratio. A general guideline is a ratio of 1:15 or 1:16 (coffee to water). For example, for 20 grams of coffee, use 300-320 grams of water. Add the coffee grounds to the pre-wet filter.
Bloom the Coffee: Start the brewing process by pouring a small amount of hot water (approximately twice the weight of the coffee) over the grounds, ensuring they are evenly saturated. This step is called blooming and allows the coffee to degas, resulting in enhanced flavors. Allow the coffee to bloom for around 30 seconds.
Begin the Pour: Starting from the center, pour hot water in a slow and controlled manner, moving in concentric circles outward, without touching the edges of the filter. Maintain a consistent pour rate, allowing the water to pass through the coffee grounds gradually. The total brew time should range between 2.5 to 3.5 minutes.
Enjoy the Brew: Once the desired volume of water has been poured, let the remaining water drip through the coffee grounds. Remove the pour-over device and discard the used filter. Give the brewed coffee a gentle stir to ensure uniformity. Pour the coffee into your favorite mug or server and savor the enticing aromas and flavors!
Mastering the art of the perfect coffee pour-over requires precision, patience and a love for the craft. By following this step-by-step guide, you can elevate your coffee brewing experience to new heights. Remember to source quality beans, pay attention to grind size and practice consistent pouring techniques. With each cup, you'll unlock a world of nuanced flavors and aromas, making your morning ritual an exquisite affair!